DIY Gardening
Starting a Vegetable Garden from Scratch: A Beginner’s 30-Day Plan
A vegetable garden from scratch is less about having the perfect tools and more about making a series of small, sensible decisions. Thirty days is enough to go from bare grass to a planted patch, provided you keep the patch modest and the plan realistic. You do not need a rototiller, raised beds on day one, or a shelf of products. You need sun, a water source, a few bags of compost, and the discipline to start small.
Days 1–4: Pick the Right Spot
Sun is the first filter. Most vegetables want six to eight hours of direct light, so watch your yard at 9 a.m., noon, and 3 p.m. before you commit. A spot that looks bright in the morning may be shaded by a fence or tree by afternoon. Water access matters just as much. A tap thirty metres away is not fatal, but it will make you water less often than you should. Put the bed within reach of a hose or keep a full watering can nearby.
Look for level ground, away from the lowest point where rain collects. Stay clear of tree roots and overhanging branches; both steal water and nutrients. A bed near a path or kitchen door is more likely to be harvested and weeded than one hidden behind the shed.
A quick site checklist
- Six or more hours of direct sun in summer.
- Easy access to water.
- Level, well-drained ground.
- Close enough to the house that you will visit daily.
- Room for beds about 1 metre wide, so you can reach the middle from both sides.
If you are unsure, push a garden fork into the soil a day after rain. If it slides in easily, the ground is workable. If it fights back, the soil is either compacted or too wet; choose another spot or plan a raised bed.
Days 5–9: Design a Small, Workable Patch
Start with two or three beds, not the whole lawn. A patch of 3 by 3 metres is enough for a beginner to learn from without being overwhelmed. Mark the outline with string and stakes, then leave paths of 45–60 centimetres between beds. Narrow beds are easier to weed, water, and harvest than a wide block you have to step into.
Draw a simple map on paper. Put taller crops such as beans or tomatoes on the north side so they do not shade low growers. Keep herbs near the path. Leave a corner for a bucket, labels, and a trowel. You do not need a shed; a sturdy box will do.
Check your tools before you buy anything new. A spade, fork, rake, trowel, watering can, string, and wooden labels cover most of the first month. Borrow or buy second-hand where you can. Clean tools after use, especially if you have been working in different parts of the garden.
If your soil is heavy clay, very sandy, or the site is rented, raised beds are a practical choice. Fill them with a mix of topsoil and compost, and do not skimp on depth: 20–25 centimetres is workable for salads and herbs, while carrots and tomatoes prefer more.
Days 10–16: Build Soil You Can Plant Into
Do not rush to plant into poor soil. Healthy soil is crumbly, dark, moist but drained, and full of life. The simplest improvement is compost. Spread 5–8 centimetres over the bed and fork it into the top 15–20 centimetres. If your soil is clay, compost opens it up; if it is sandy, compost helps it hold water. Do not work soil when it is wet enough to clump in your hand. Wait a day or two.
Three soil fixes that matter
- Add organic matter. Compost or well-rotted manure, spread and lightly forked in, does more than most bags of fertilizer.
- Check drainage. Dig a hole about 30 centimetres deep, fill it with water, and let it drain. Fill it again. If water still sits there hours later, improve the bed with compost and consider raising it.
- Keep it covered. After planting, mulch with straw, leaves, or compost. Mulch holds moisture, cools the soil, and slows weeds.
Do not overfertilize. Too much nitrogen gives you lush leaves and few beans or tomatoes. A soil test from a garden centre can guide you, but for a first patch, compost and sensible watering will get you most of the way. Avoid fresh manure and strong fertilizers right at planting time.
Days 17–23: Choose Easy Crops and Buy Seeds
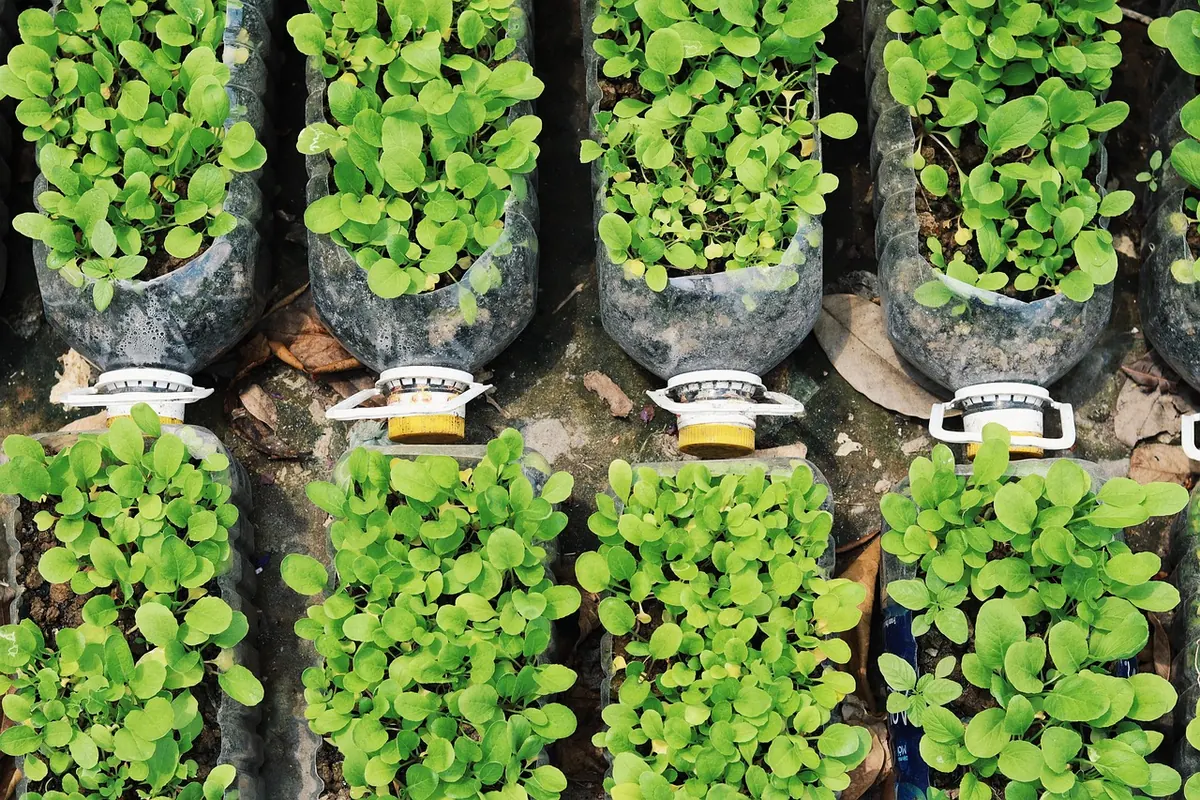
Resist the seed catalogue. Choose five or six crops you actually eat, and check the seed packets for days to maturity, spacing, and sowing depth. Fresh seed matters; old packets in a hot shed germinate poorly. Buy from a reliable supplier and note the packed-for date.
Beginner-friendly crops
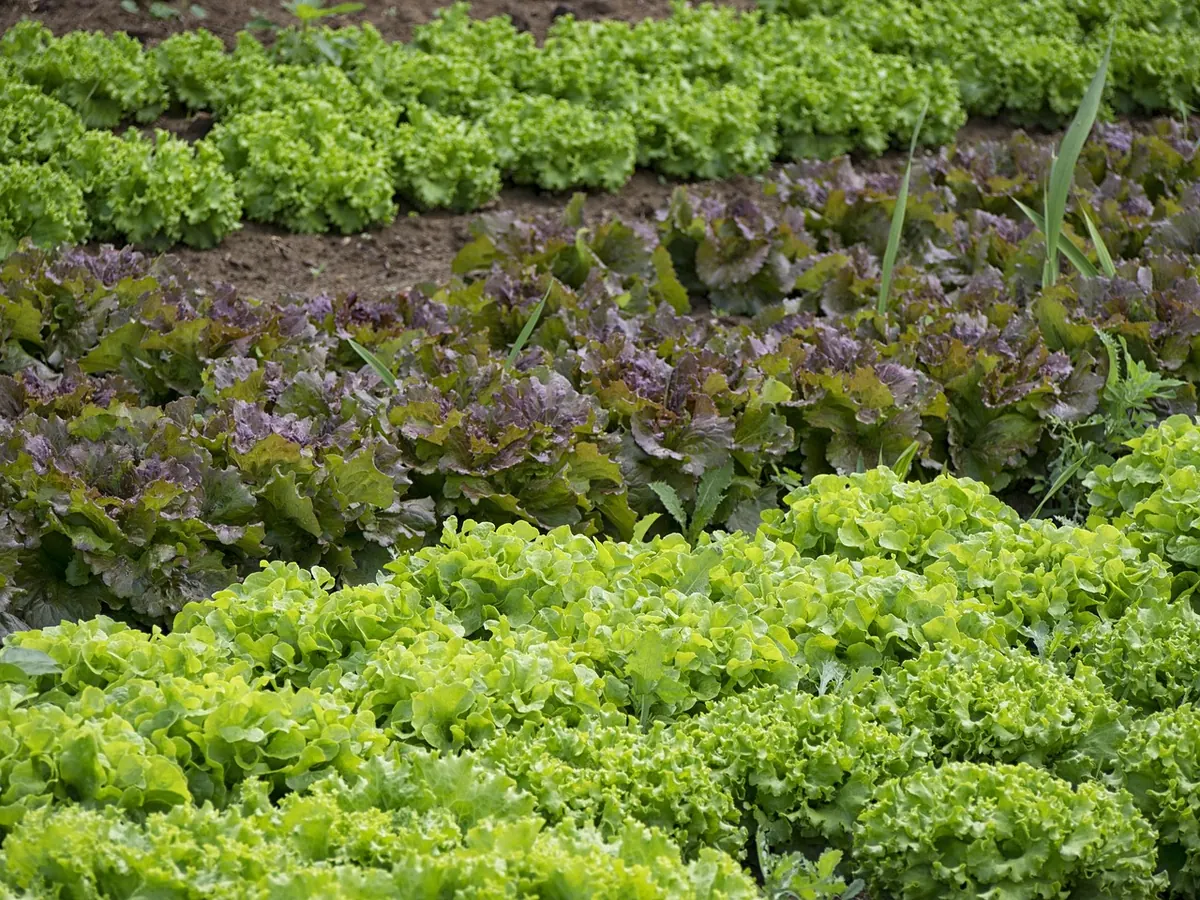
- Lettuce and salad leaves: fast, useful in small spaces, and easy to harvest leaf by leaf.
- Radishes: quick to mature and good for marking rows while slower crops establish.
- Bush beans: no support needed, productive in warm soil, and easy to pick.
- Zucchini: one plant goes a long way; give it space and harvest while small.
- Chard and kale: tolerant, productive over a long season, and good for cut-and-come-again harvesting.
- Carrots: need loose, stone-free soil and regular thinning, but they are rewarding.
- Cherry tomatoes: buy healthy transplants if your season is short; they are easier than large slicing varieties.
Buy transplants for anything slow or fussy in your climate, and seeds for fast crops. Keep packets dry and cool. Write the sowing date on a label or in a notebook; memory is a poor record in July.
Days 24–30: Plant, Water, and Watch
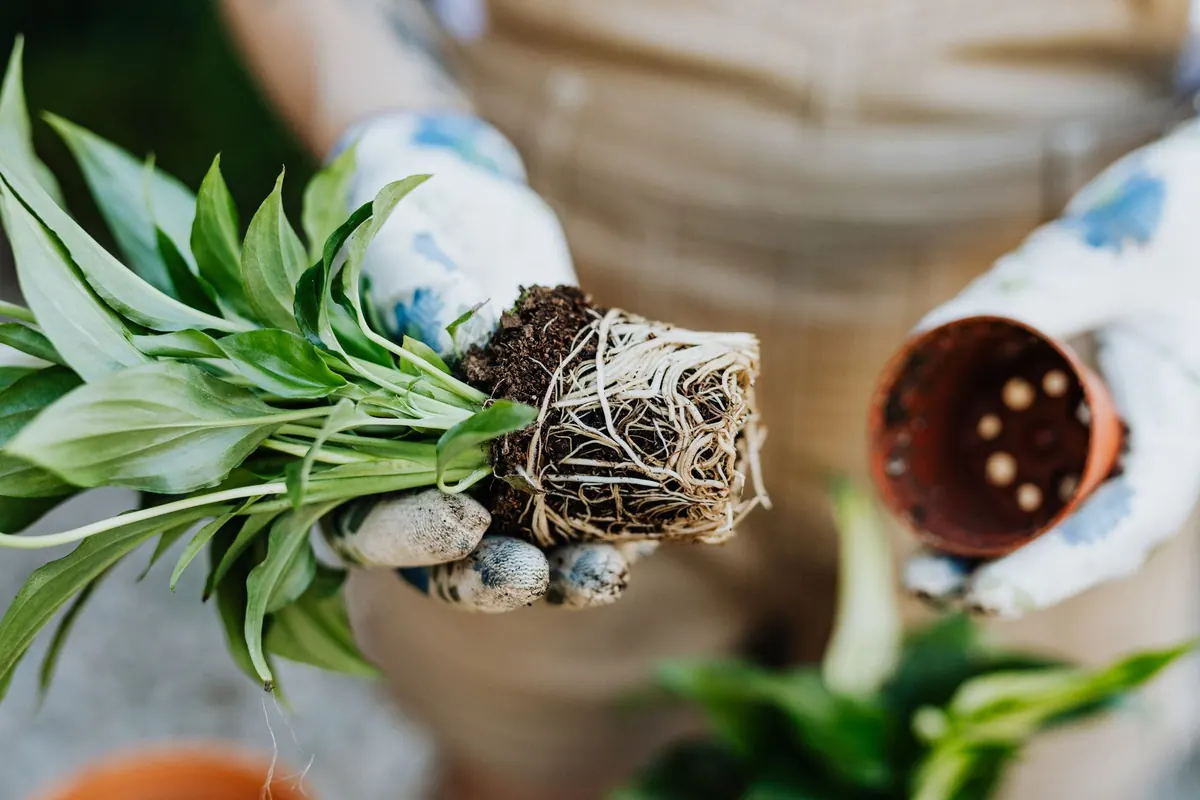
Plant on a cloudy afternoon or in the evening, when the sun is off the seedlings. Water the bed the day before, not just after. Set transplants at the same depth they grew in the pot, except tomatoes, which can be buried deeper along the stem. Space according to the packet. Crowding feels generous at planting time and becomes a problem by midsummer.
- Mark rows or spots with string, then check spacing.
- Sow seed at two to three times its diameter, or follow the packet.
- Label each crop and variety; labels fade, so use pencil or a permanent marker.
- Water gently with a fine rose, then keep the surface moist until seedlings appear.
- Protect young plants from slugs, birds, and strong wind with netting, fleece, or a simple cloche.
Do not fertilize newly planted seedlings heavily. Water deeply when the top two or three centimetres of soil feel dry. Thin carrots and radishes once they are large enough to handle; the thinnings are edible. Check under leaves for pests, and pick off problems early rather than reaching for a spray.
Day 31 and Beyond: The Ten-Minute Habit
The first month gets plants into the ground. The next month decides whether they thrive. Walk the garden daily with a watering can in hand. Pull a few weeds, harvest what is ready, and look at the undersides of leaves. Ten minutes of attention beats an hour of catch-up on Sunday.
Water in the morning if you can, and water the soil rather than the leaves. Deep, less frequent watering encourages roots to go down. Keep notes: what germinated, what the slugs ate, which variety you would grow again. Add compost in autumn, mulch in summer, and accept that a few failures are part of the learning. A small garden that gets visited every day will outperform a large one that gets visited when someone remembers. Start with that patch, keep it close, and let the first harvest set the pace for next year.
Photo: Edar / Pixabay
Related Articles