Seasonal Tips
Spring Garden Checklist: 15 Jobs to Do Before the Last Frost
The last frost date is a useful marker, not a promise. Early spring weather can turn warm enough for a shirt-sleeve afternoon, then drop back to a hard freeze two nights later. The gardens that handle that swing best are rarely the ones planted first. They are the ones whose soil, tools, seedlings, and frost protection were ready before the first mild week arrived.
This checklist is built around that idea: do the quiet work now, in the order the garden needs it, and leave the planting decisions for when the soil and the forecast agree.
Wake Up the Soil
1. Check soil moisture before you dig. Wet soil compacts badly, and a bed worked too early can stay tight all season. Grab a handful from planting depth and squeeze it. If it holds together like a snowball, wait. If it crumbles when you open your hand, it is dry enough to work. A soil thermometer is also worth keeping nearby; cool-season seeds and transplants care more about soil temperature than air temperature.
The squeeze test, done properly
Take the sample from where roots will actually grow, not from the surface crust. Repeat in two or three spots, because raised beds, clay corners, and sandy edges dry at different rates. If only one section is ready, start there and leave the rest alone.
2. Clear winter debris and early weeds. Remove fallen leaves from beds, pull winter annual weeds before they set seed, and cut back anything that was left for winter interest. Put diseased foliage in the municipal green waste or trash rather than the home compost pile. Healthy stems and leaves can go into compost, but chop them first so they break down faster.
3. Top-dress beds with compost. Spread an inch or two of mature compost over vegetable beds and perennial borders, then let earthworms and rain work it in. Do not dig it deep into the soil. A gentle fork to relieve compaction is enough. If you keep a no-dig bed, this is the moment to add compost and step away.
4. Repair raised beds and bed edges. Check boards for rot, tighten loose corners, and replace any soil that washed out over winter. Straighten edging before perennials start growing through it. A small repair now is much easier than lifting plants later.
Put Tools and Watering Gear in Order
5. Clean, sharpen, and oil hand tools. Scrape rust from pruners and trowels with a wire brush, sharpen the cutting edge with a file, and wipe metal surfaces with a light oil. Clean pruners between plants if you have been working around diseased material. Sharp tools make cleaner cuts, and clean cuts heal faster.
6. Inspect hoses, irrigation, and supports. Unroll hoses, check for splits, and replace washers before the first watering. Turn on drip lines and look for clogged emitters. Dig out stakes, trellises, and tomato cages; repair or replace broken ones now, while the garden center still has a full selection and you are not trying to prop up a flopping plant in June.
Prune and Tidy Perennials
7. Prune dormant trees and shrubs with a reason. Remove dead, diseased, damaged, and crossing branches first. Then step back and check the shape before making another cut. Do not prune just because the loppers are out. On trees and shrubs that flower in spring, wait until after bloom if you want to keep this year’s flowers.
Spring bloomers wait
Forsythia, lilac, and other shrubs that flower on old wood set buds last season. Pruning them hard now removes the show. Summer-flowering shrubs are usually more forgiving. If you are unsure, prune lightly and observe for a season.
8. Cut back perennials and ornamental grasses. Wait until you see new growth at the crown, then cut last year’s stems to a few inches above the ground. Leave a few hollow stems standing for overwintering bees if the garden can spare them. Ornamental grasses can be cut back once the worst of the wet weather has passed.
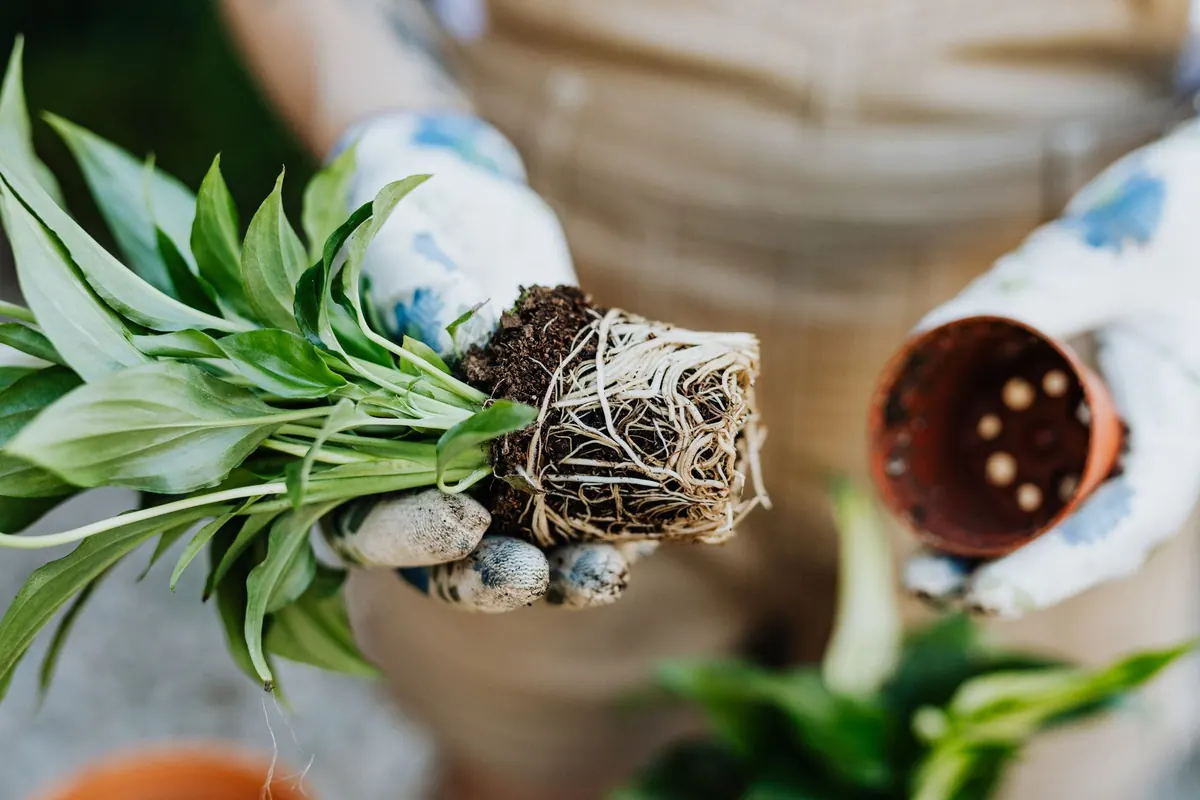
9. Clean up crowns and divide crowded perennials. Pull old leaves away from crowns so new shoots are not smothered. Lift and divide perennials that have died out in the center or crowded their neighbors. Replant the healthy outer sections, water them in, and mulch lightly.
Start Seeds and Harden Seedlings
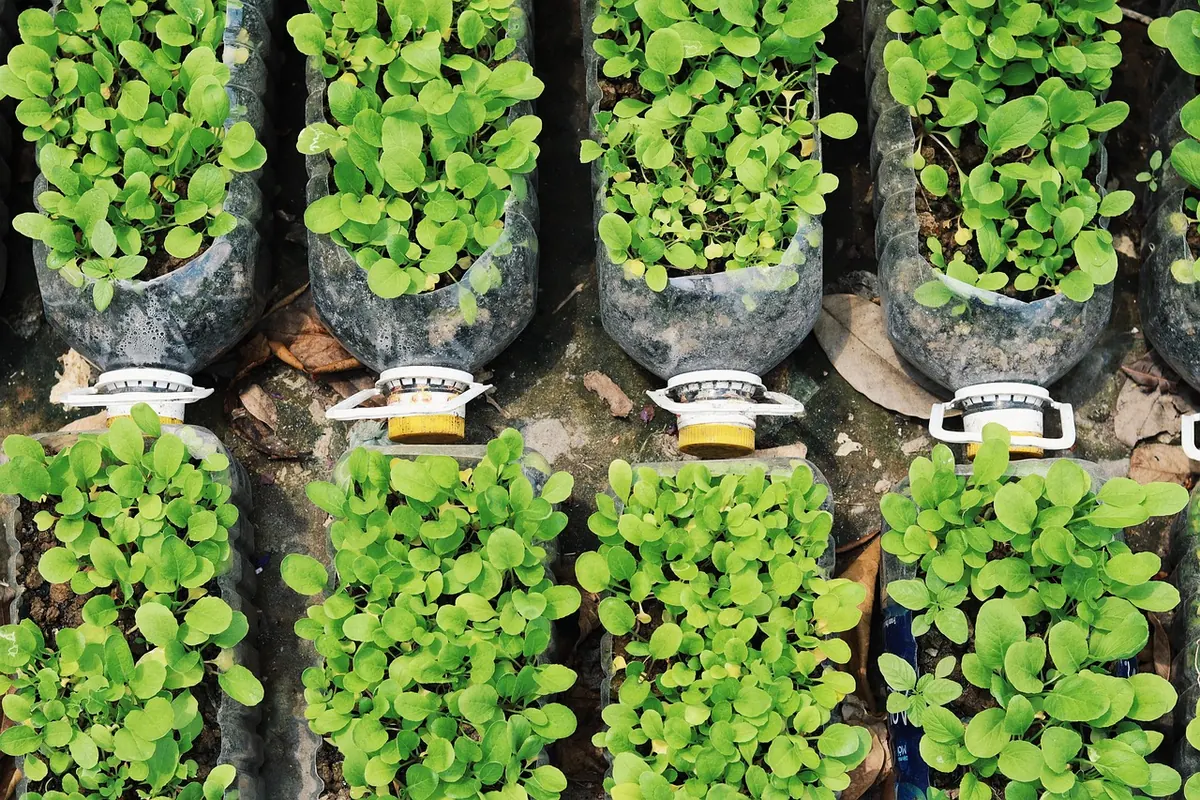
10. Start seeds indoors on a schedule. Read the packet, count backward from your last frost date, and sow only what you have room to grow on. Use a clean seed-starting mix, label everything, and give seedlings bright light close to the leaves. Weak, leggy seedlings rarely catch up.
11. Harden off seedlings gradually. Move young plants outside for short periods, starting in shade and shelter, then increase their time in sun and wind over a week or more. Bring them in at night at first. A sudden move from warm windowsill to cold garden is a shock many seedlings do not survive.
12. Check stored bulbs and tubers. Look through dahlia tubers, canna rhizomes, and stored bulbs for soft spots or mold. Discard damaged pieces and separate healthy ones. If they have started sprouting, pot them up under cover rather than letting them wait in a damp box.
Prepare for Frost and Early Planting
13. Set out frost protection before you need it. Keep row cover, cloches, old sheets, and buckets where you can reach them on a cold evening. Row cover helps, but it is not magic; it works best when it is draped to the ground and secured against wind. Know which crops are hardy, which are half-hardy, and which sulk below a certain temperature.
14. Direct sow hardy crops when the soil is workable. Peas, spinach, lettuce, radishes, and other cool-season crops can go in once the soil is dry enough and the forecast is not locked in a deep freeze. Sow in small batches rather than all at once, so a late cold snap does not take the whole crop. Protect early sowings with row cover if nights turn sharp.
15. Make a simple planting calendar and record. Write down your last frost date, the crops you plan to start indoors, and the dates you actually sowed. Sketch bed rotations and note where perennials are emerging. A few notes now save you from wondering in May what went where and why the beans are coming up in the lettuce row.
A Calm Start Beats a Perfect One
No garden follows the checklist exactly. Rain keeps you indoors, a warm spell tempts you to plant too early, and the last frost sometimes arrives later than the calendar suggests. The point is not to finish every job by a certain date. It is to have the beds, tools, seedlings, and protection ready so a good planting day does not go to waste.
If the season gets away from you, do these first:
- Clear beds and check soil moisture before working them.
- Sharpen pruners and clean up any diseased material.
- Start only the seeds you can grow on with enough light.
- Keep frost cover within easy reach.
- Write down your frost date and what you planted.
Then work through the rest as time allows. A garden that starts a little rough but is planted at the right moment will usually outperform one that was perfectly tidy and planted too soon.
Photo: Ray_Shrewsberry / Pixabay
Related Articles